How To Make Milk Kefir (Easy Tutorial!)
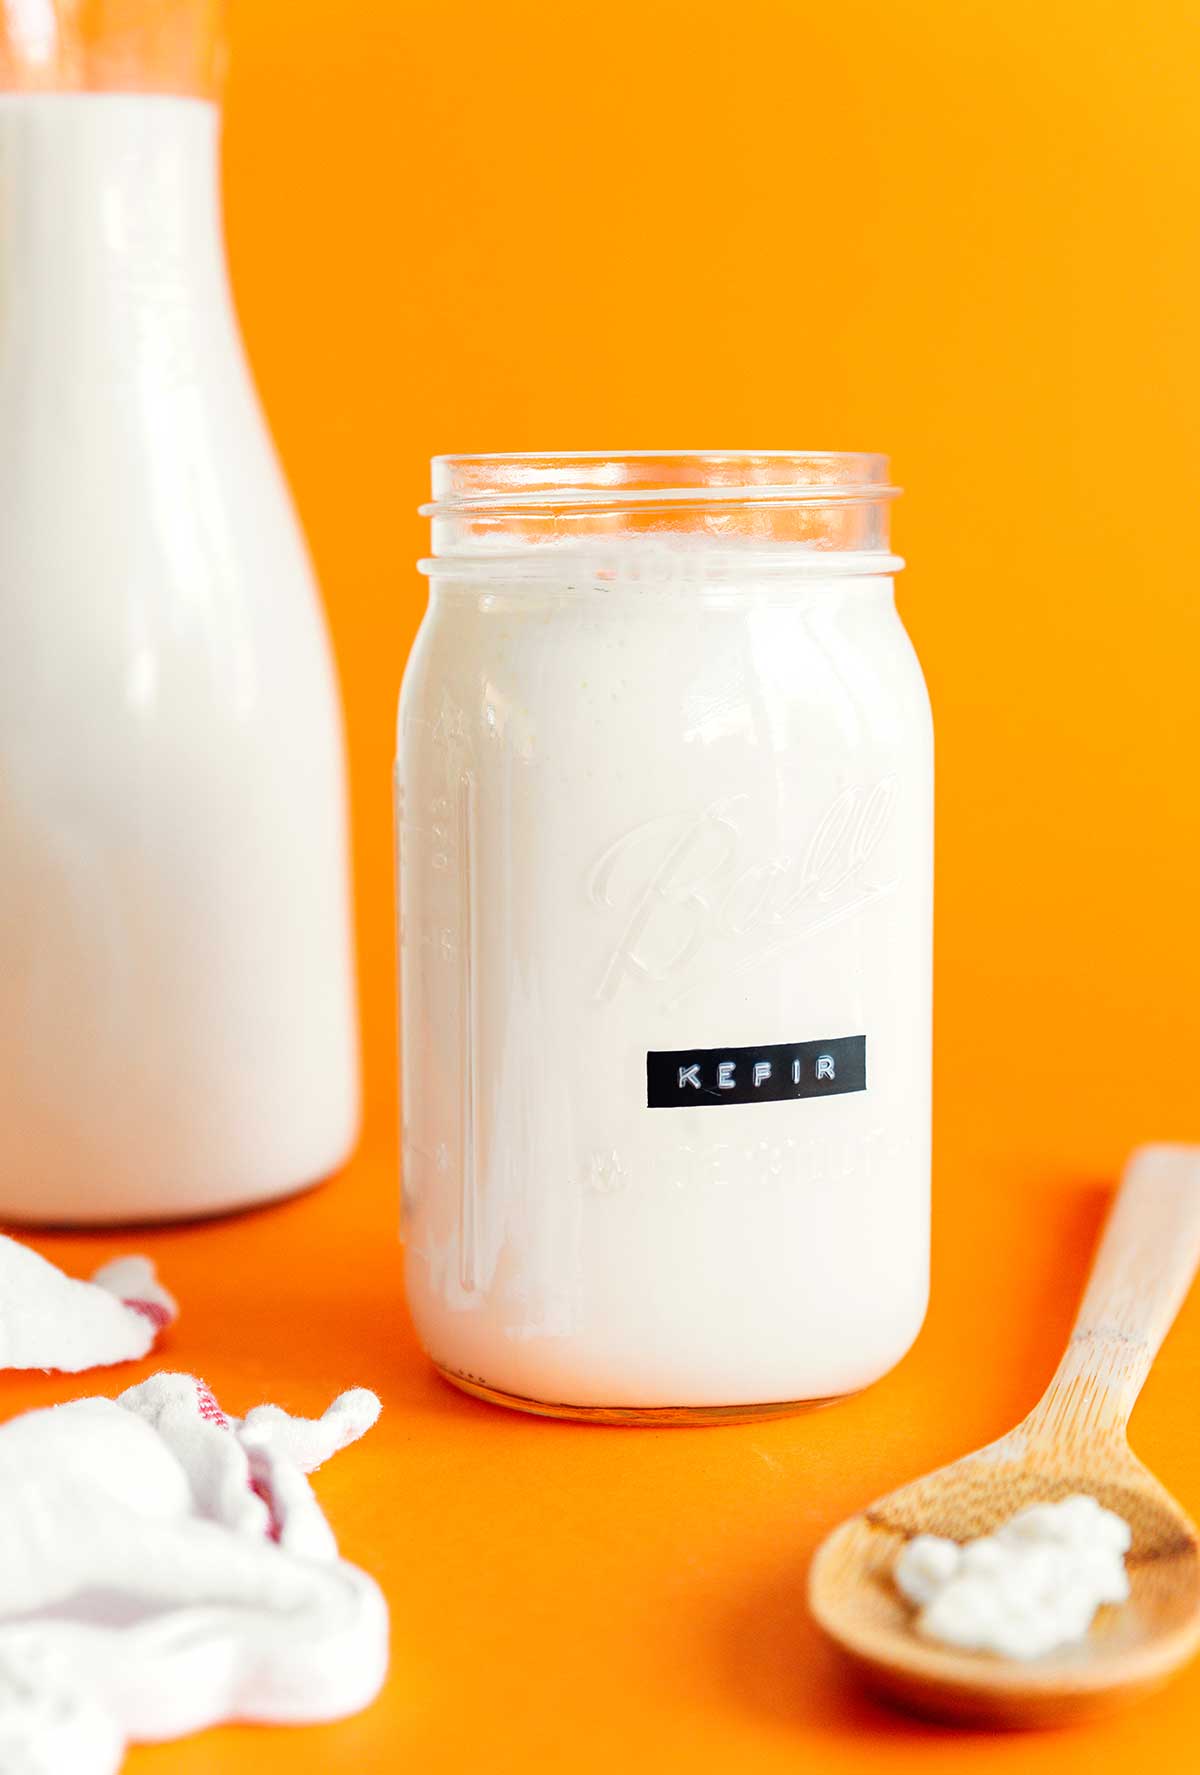
Breaking down the simple basics of how to make easy homemade milk kefir, a probiotic-rich fermented drink that’s soon to be a staple in your kitchen!
Breaking down the simple basics of how to make easy homemade milk kefir, a probiotic-rich fermented drink that’s soon to be a staple in your kitchen!
Check what you already have. We'll leave it off your shopping list.
CookOS may earn a commission from Instacart orders.

Prices vary by store
*Service fees apply. Instacart® and the Instacart logo are registered trademarks of Maplebear Inc. d/b/a Instacart.
Clean: Clean everything well with regular soap (avoid antimicrobial soaps). I’m talking the hands, glass jugs, spoons - everything!
Assemble: Add 1 Tbsp (ish) of the kefir grains and 4 cups of whole milk to a large glass jug. Cover the jug with either a few layers of paper towels or a few paper coffee filters. Secure with a rubber band to prevent any bugs or dust from getting in.
Ferment: Set in a warm, dark spot (65 to 85°F / 18 to 29°C) for about 24 hours. You’ll know your kefir is done when it has slightly thickened and smells fermented. If you kefir has separated into yellowish watery-looking whey, that’s fine! It’s just a sign that you can either reduce the length of fermentation next time or use more milk next time.
Strain: Place a wide non-metal* bowl under a fine-mesh non-metal colander. Pour your finished kefir into the colander, stirring with a plastic or wooden spoon to gently force kefir through. The grains will be left.
Start new batch: Rinse out the large jar that you fermented the grains in, then add the grains back into it. Add 4 cups of fresh milk to start the process over.
Store fresh kefir: Transfer the finished kefir that collected in the wide bowl and transfer it to a sealable jar. Store in the fridge for around 2 weeks.